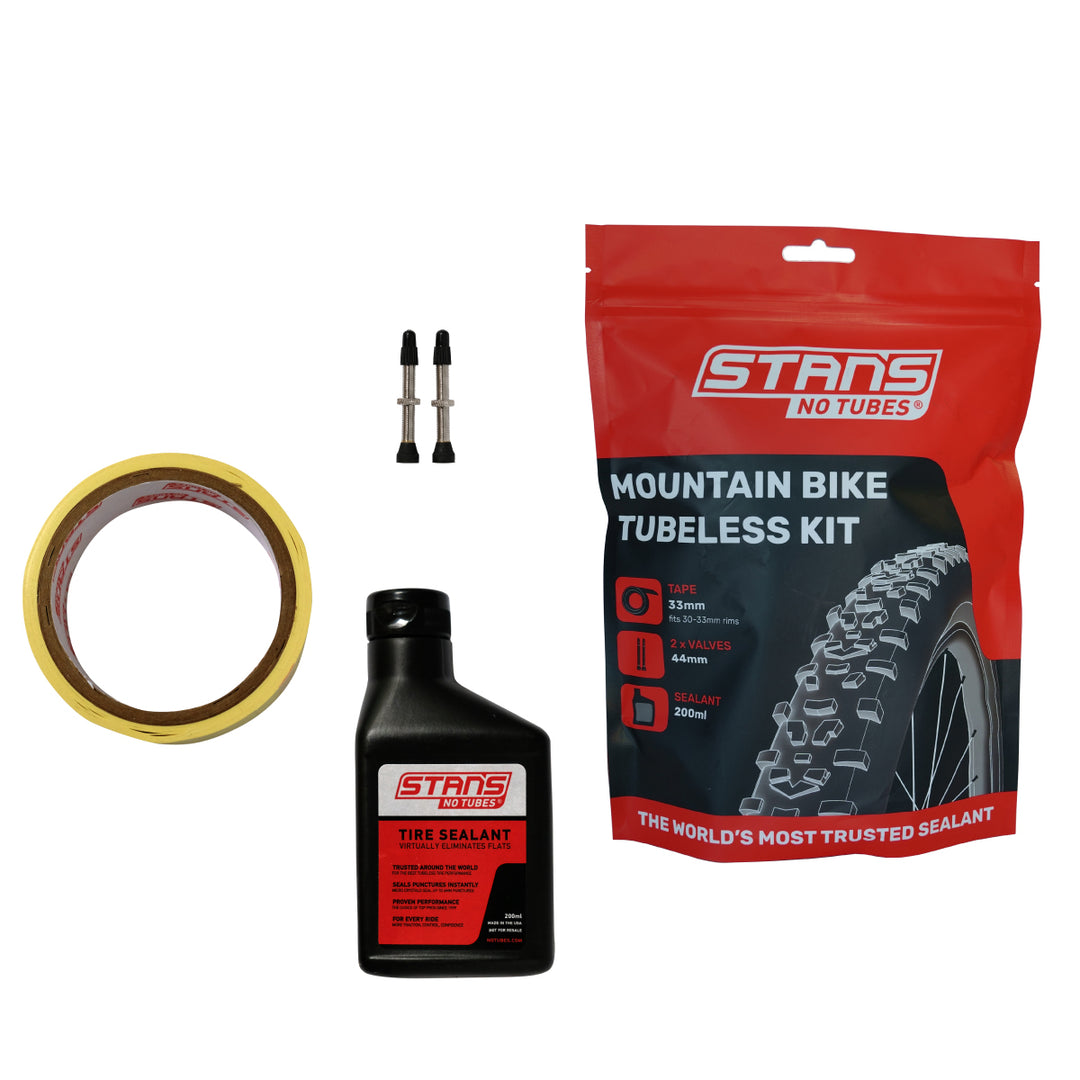
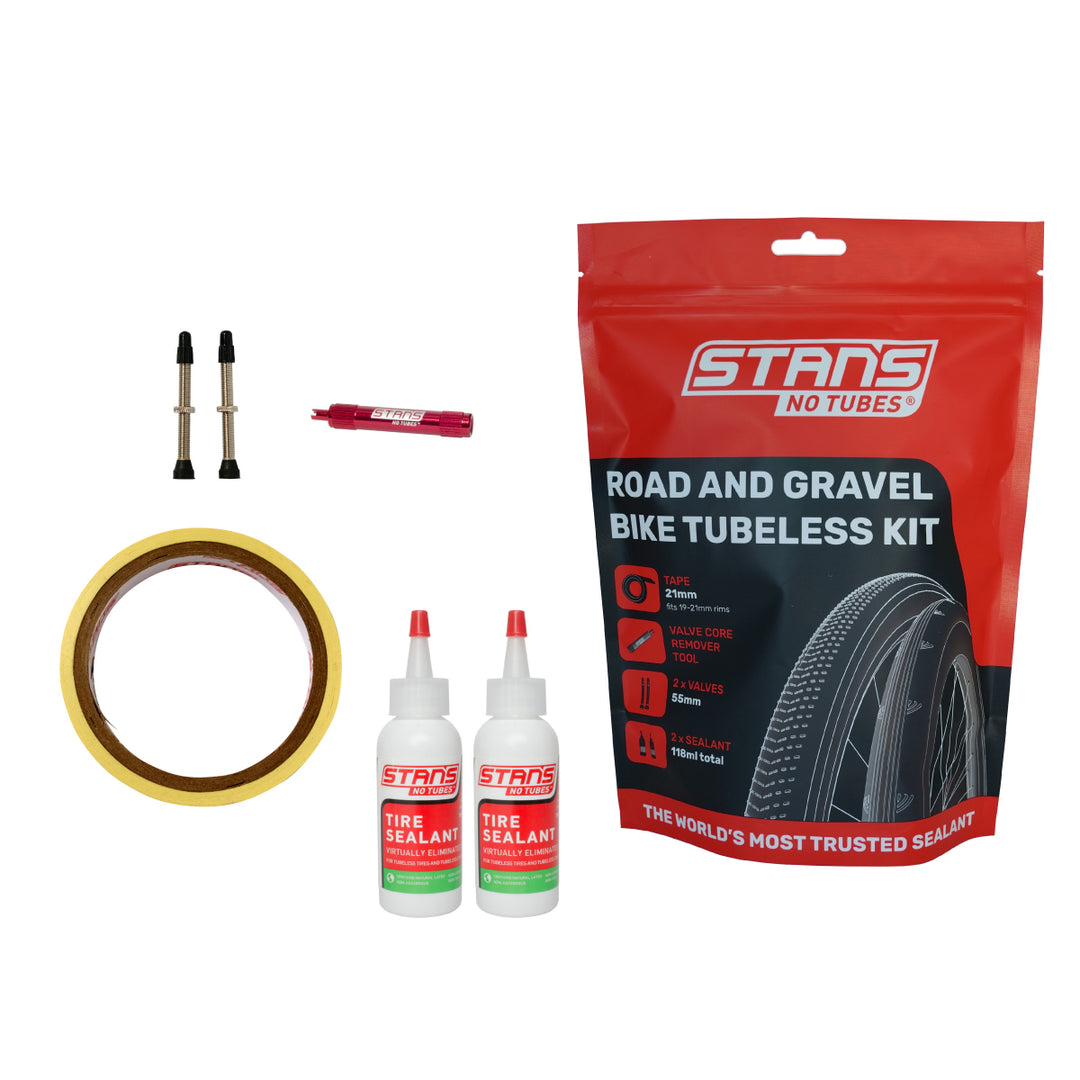
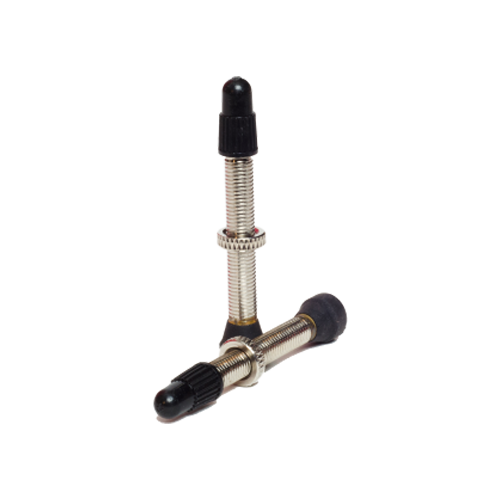
What's in the bag?
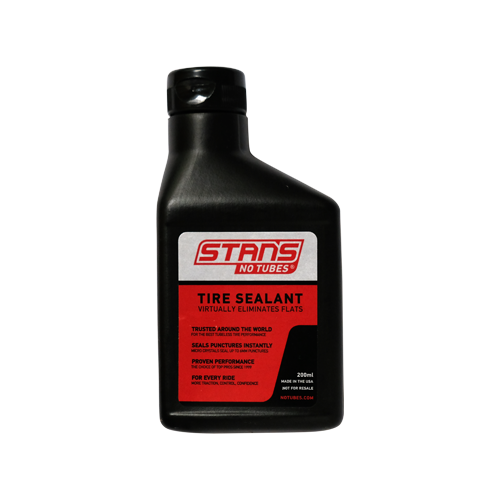
Our tubeless kits include everything you need to replace the inner tubes in your tubeless ready rims and tires with genuine Stan’s sealant--the original, and still the best tubeless tire sealant. All Mountain Bike Tubeless Kits include 200ml of sealant, 44mm brass valves, and Stan’s Yellow Tape.
Kits are offered in different tape widths to fit a variety of rims. If you're unsure whether your rims are tubeless ready, look for graphics that mention it directly on the wheel or contact the manufacturer for details.
Do not attempt to use a tubeless system on wheels that are not explicitly tubeless compatible. Why convert to tubeless? Check out our Tubeless Guide.
Mountain Tubeless Kits Contain:
Road Tubeless Kits Contain:
What' a tubeless system?
A tubeless tire system is an easy upgrade to just about any bike. In place of your tire’s inner tubes, our tubeless system uses tubeless rim tape, tubeless valves, and Stan's Tire Sealant to repair punctures caused by debris nearly instantly as they occur–while you ride! Without a tube, there are no punctured tubes or “pinch flats,” which occur when a conventional tube-and-tire setup compresses during a hard impact.
What size rim tape do you need?
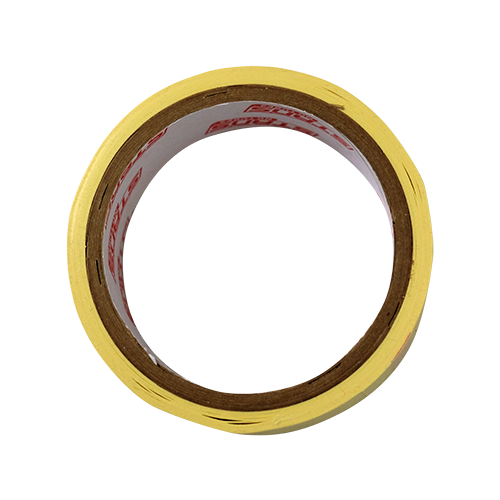
As a rule of thumb, we suggest selecting a rim tape that’s 1-2 millimeters wider than the rim's inner width to ensure an airtight seal.
Protecting a tube from spoke holes is the only role conventional rim tape serves. For tubeless tires, we use a nonporous rim tape to form an airtight barrier over the spoke holes and with your tire. This airtight seal also protects your rim, spokes, and spoke nipples from exposure to moisture brought on by the sealant you’ll inject into the tire.
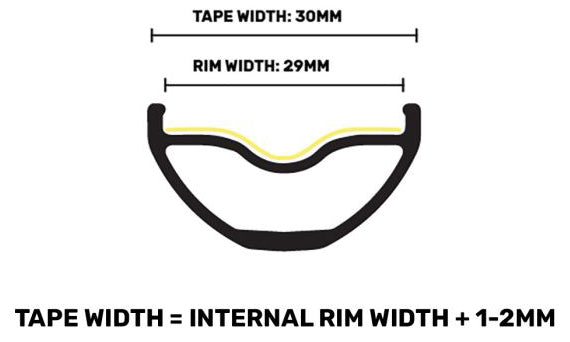
Tubeless Valve Length
Our kits come with one of two lengths of tubeless Presta valves; 44mm for mountain kits and 55mm for road/gravel kits. Certain rim designs require longer valves, e.g. extra-tall aerodynamic rims.Maximum rim depth for 44mm valves: 28mm
Maximum rim depth for 55mm valves: 40mm

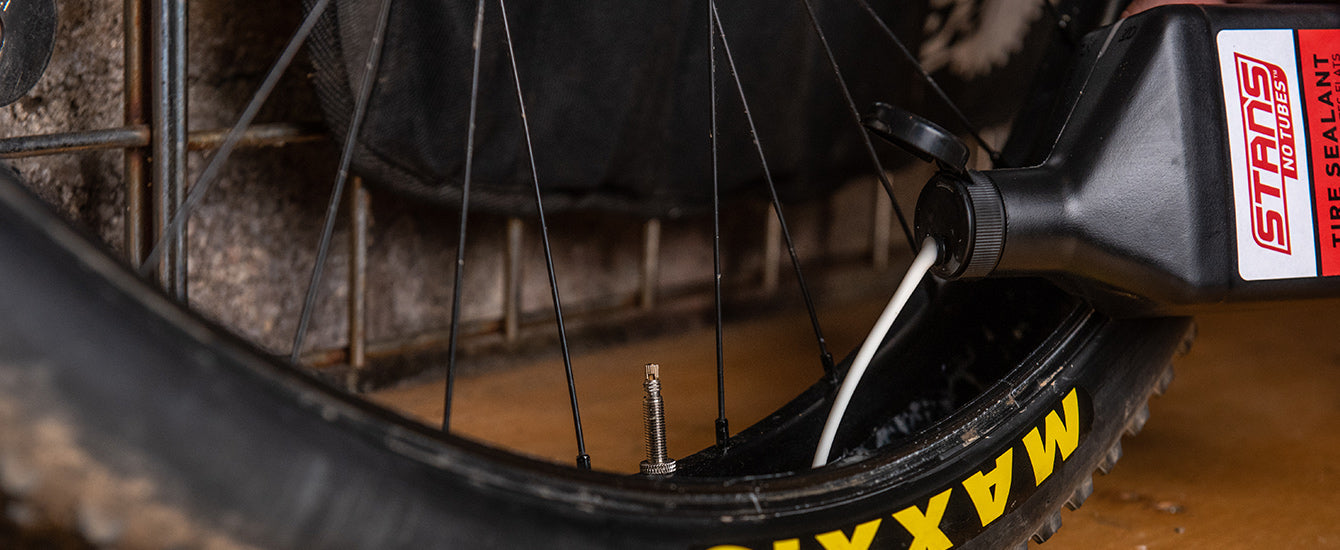
Installation Instructions
Step 1
Tape & Valve Installation
Step 2
Sealant Installation
Step 3
Tire Mounting


