- DETAILS
- Troubleshooting
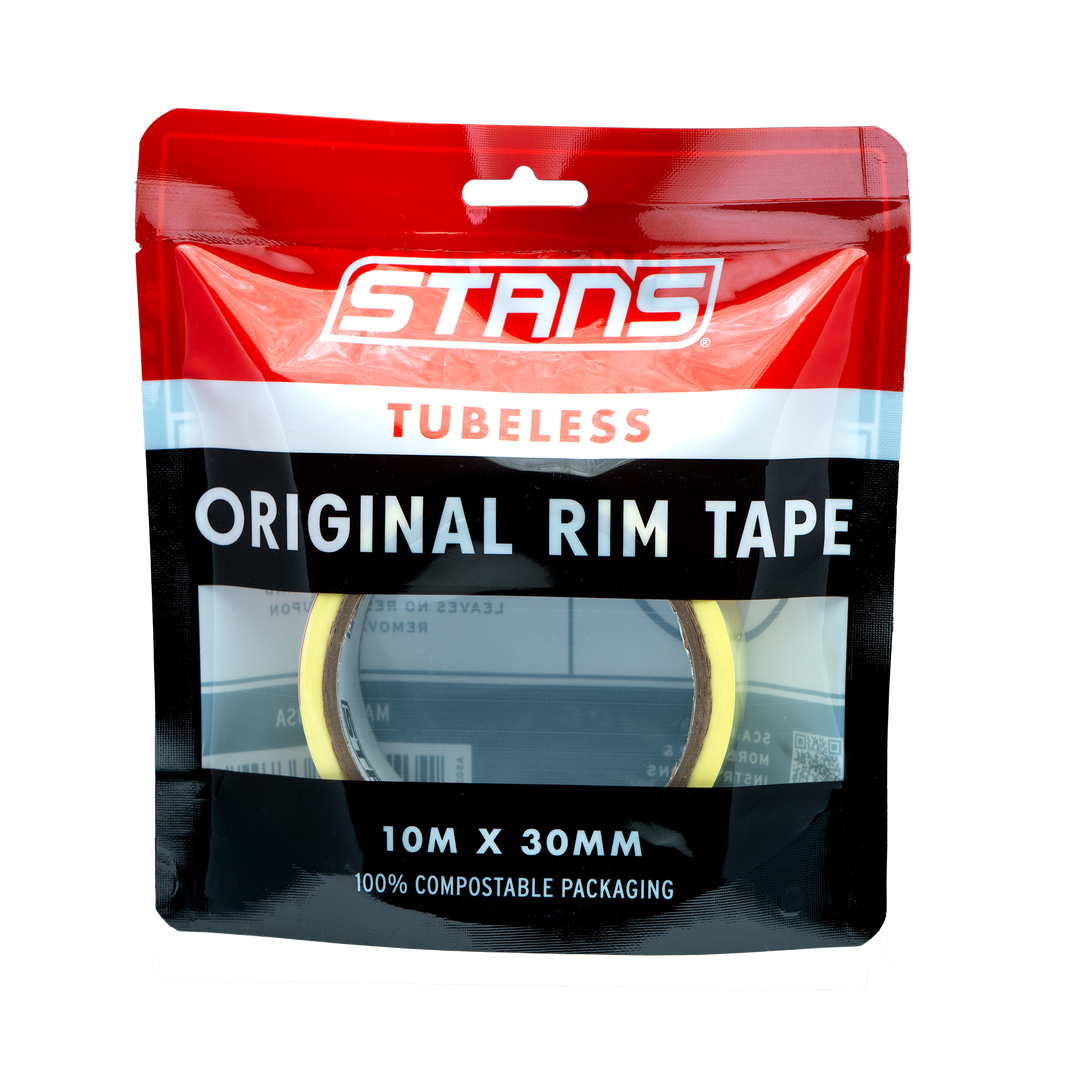
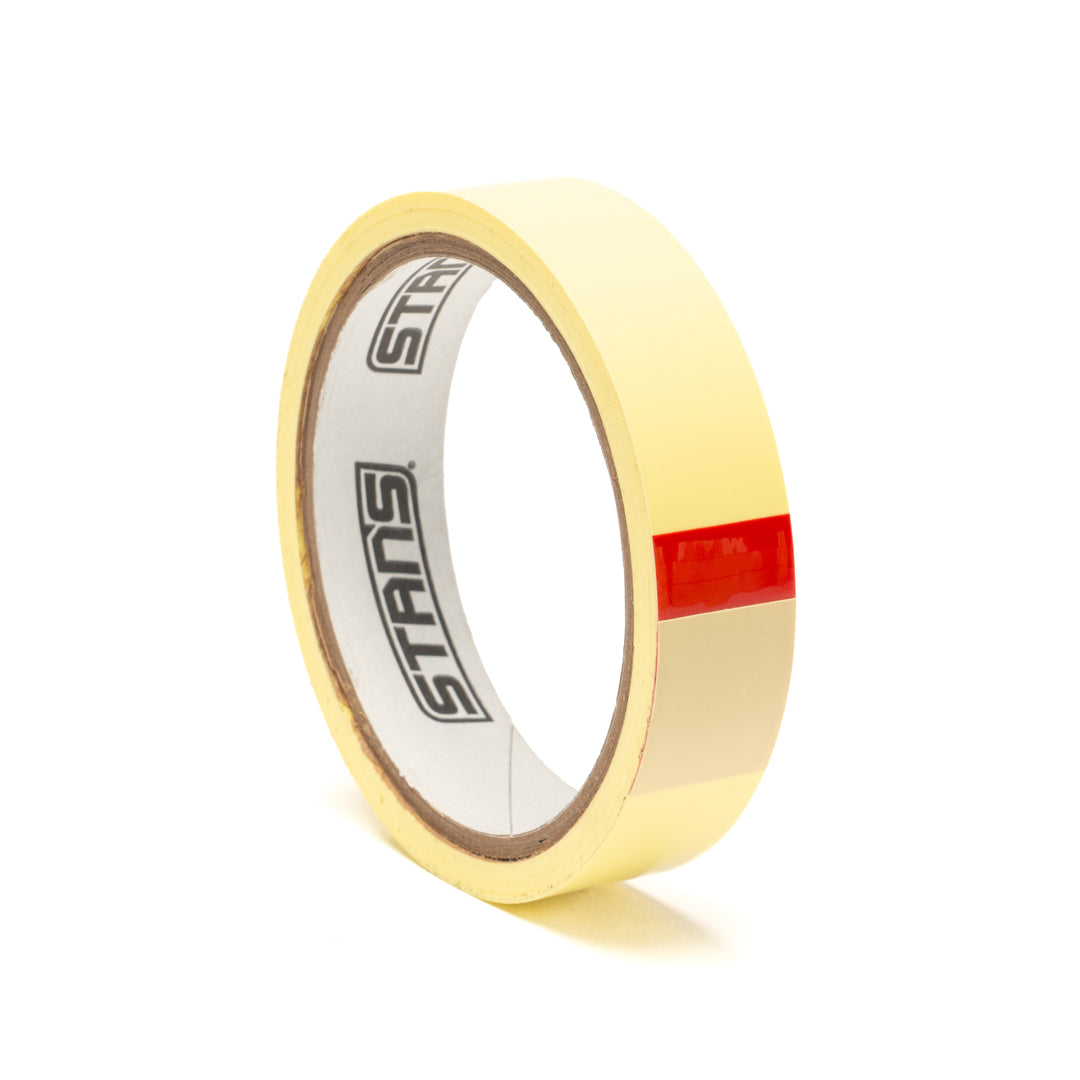
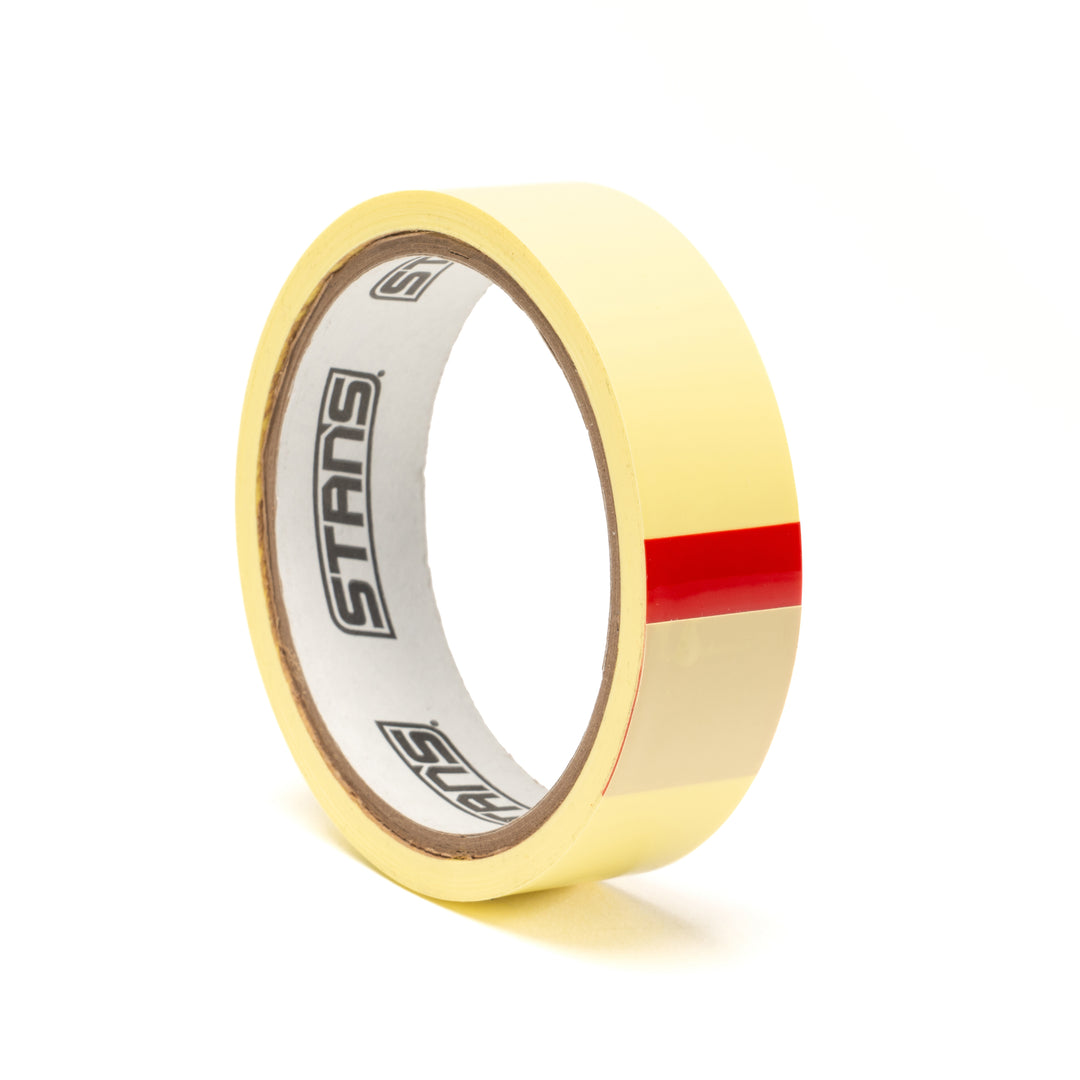
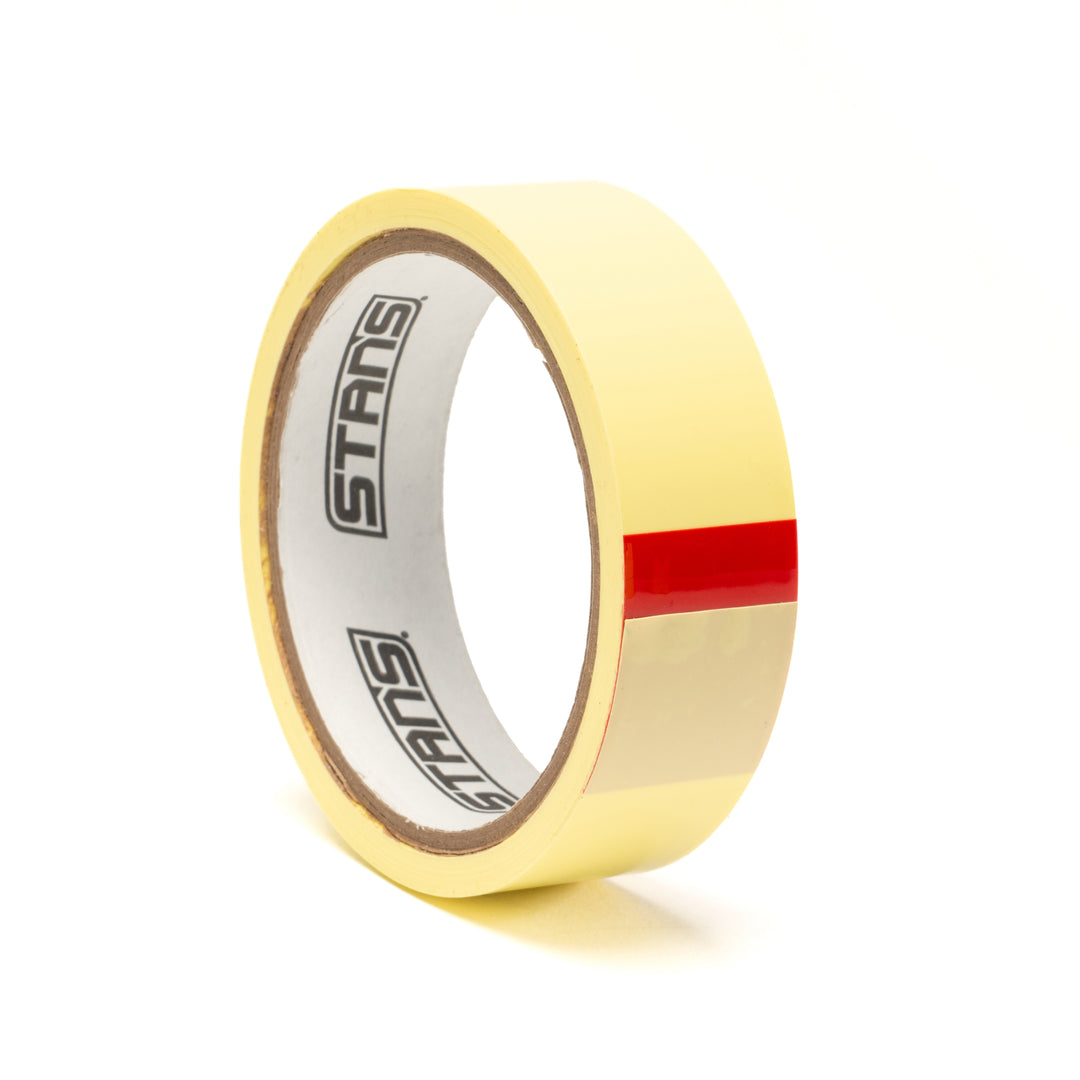
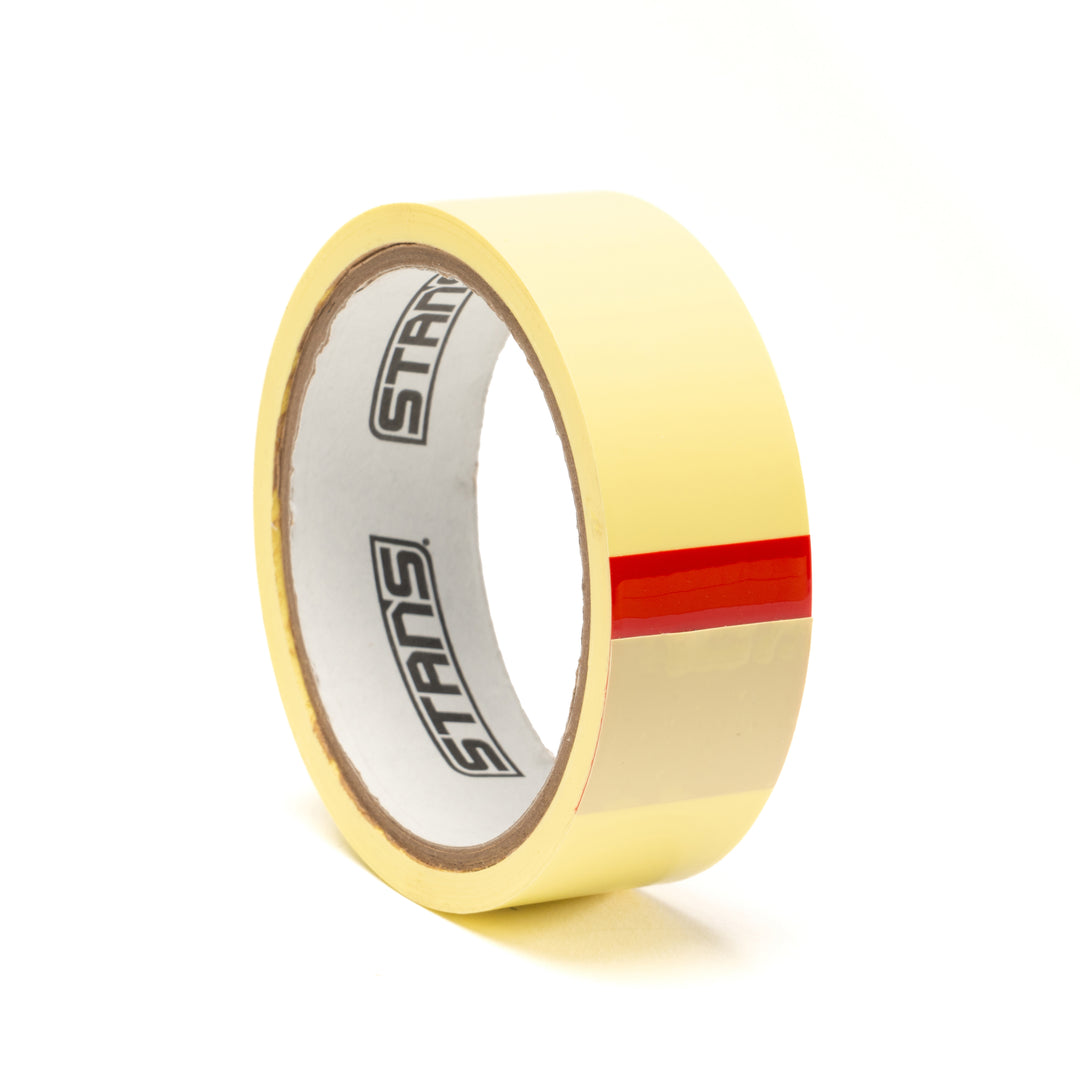
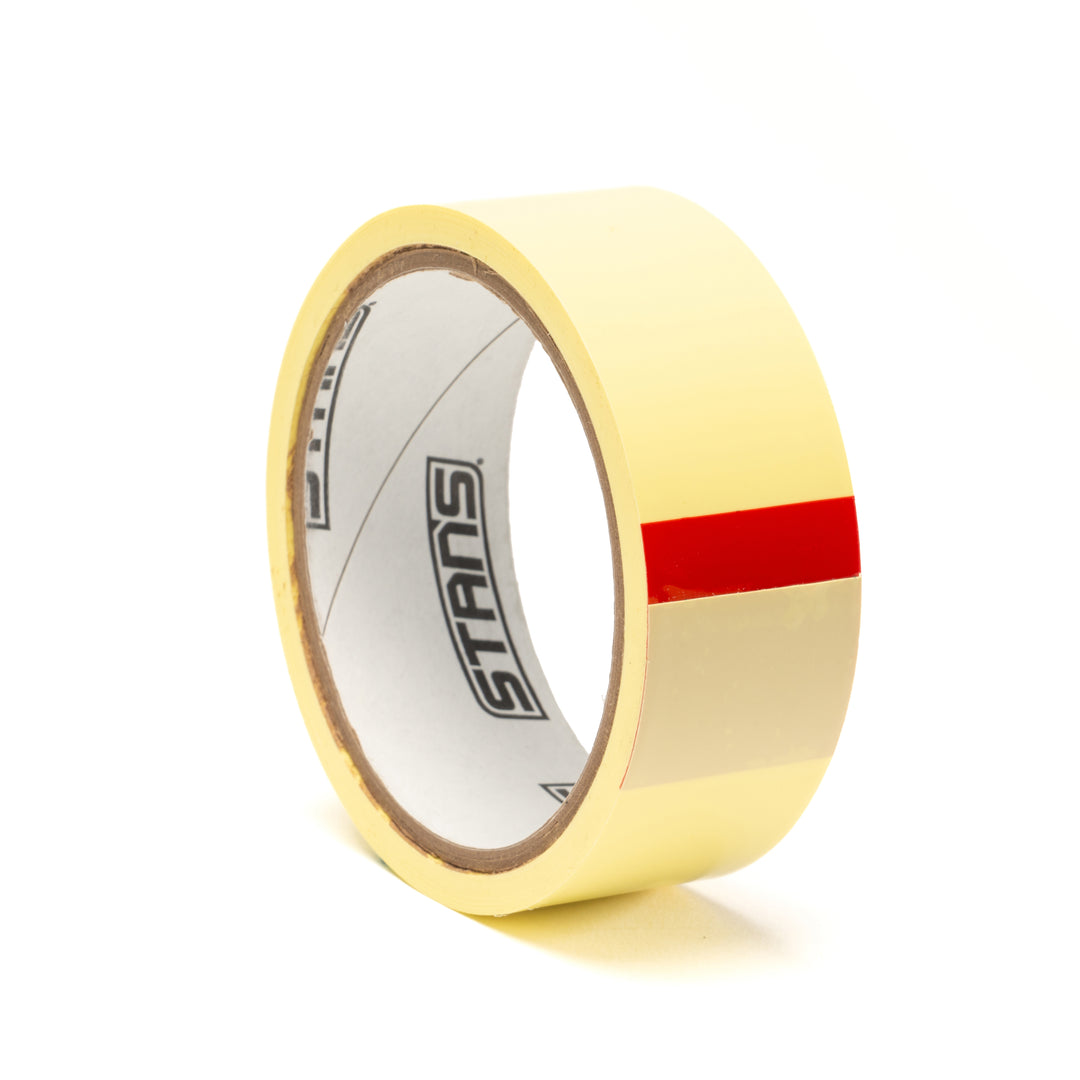
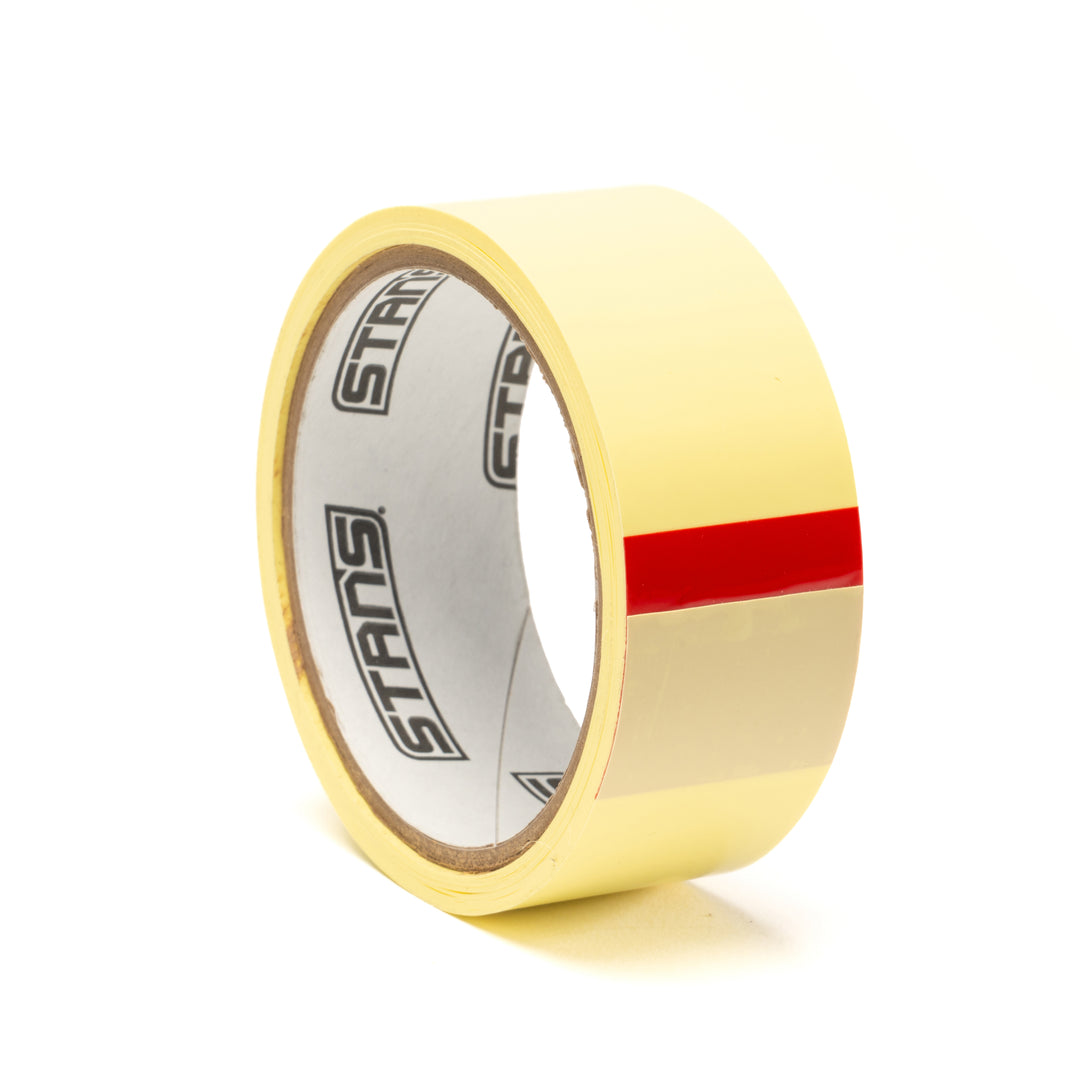
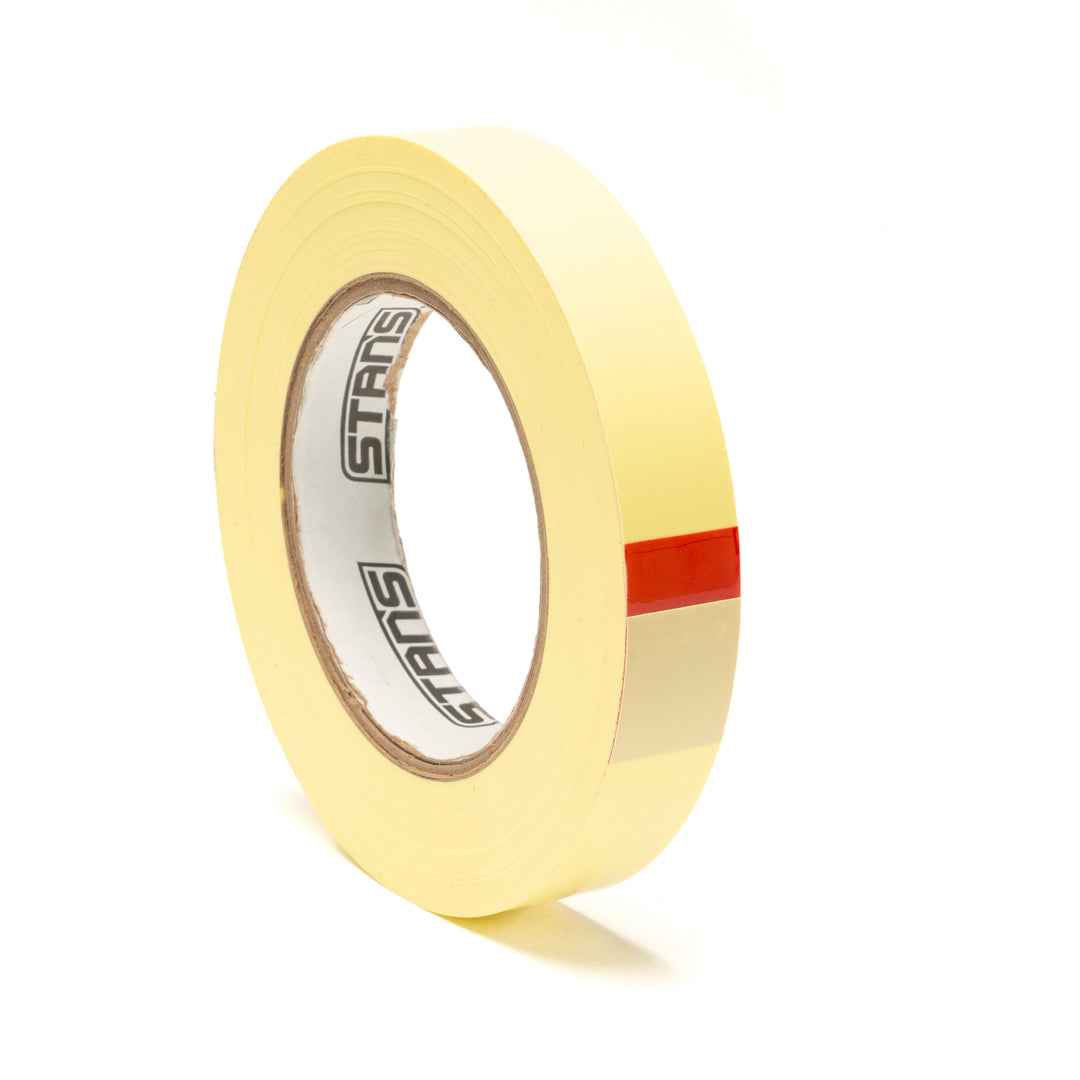
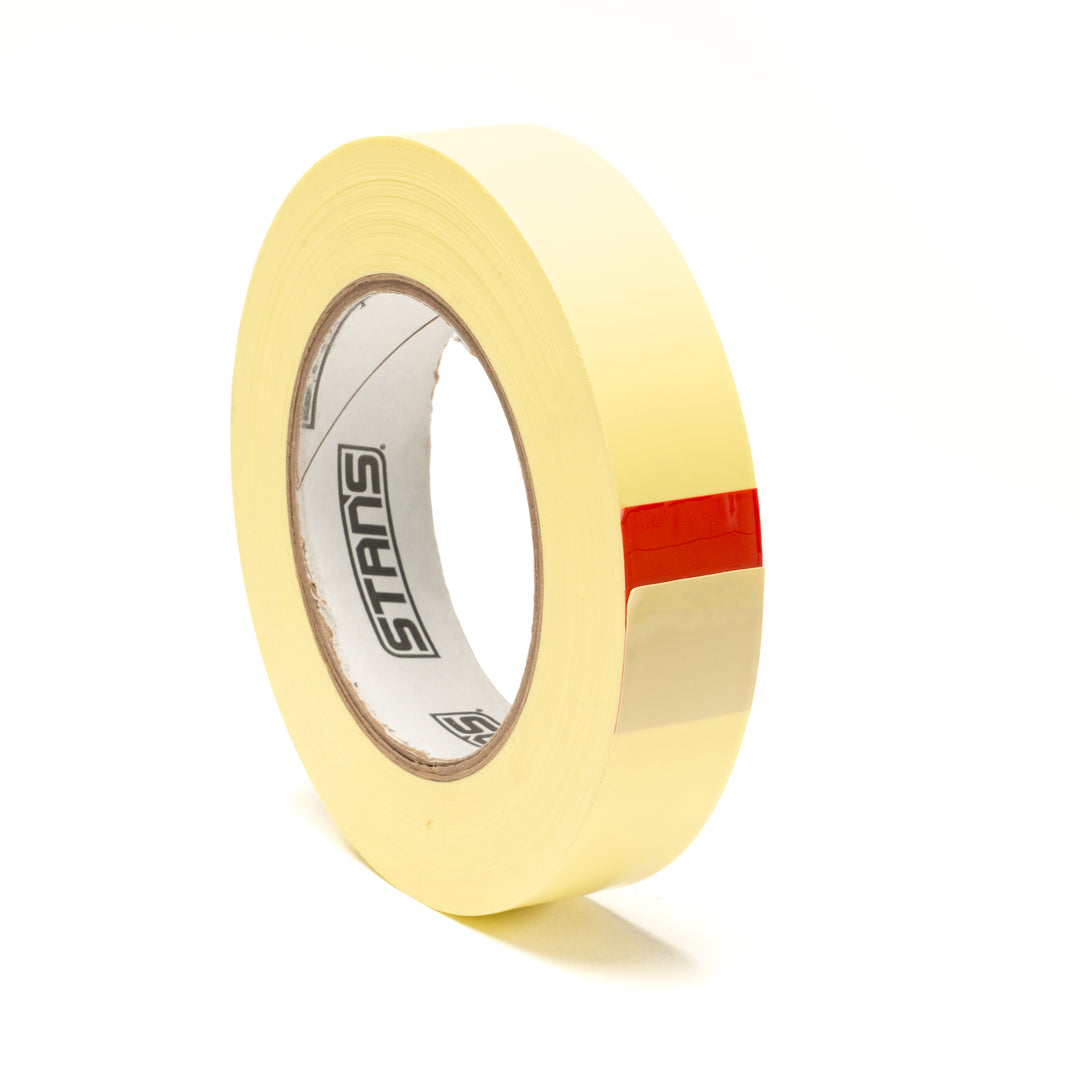
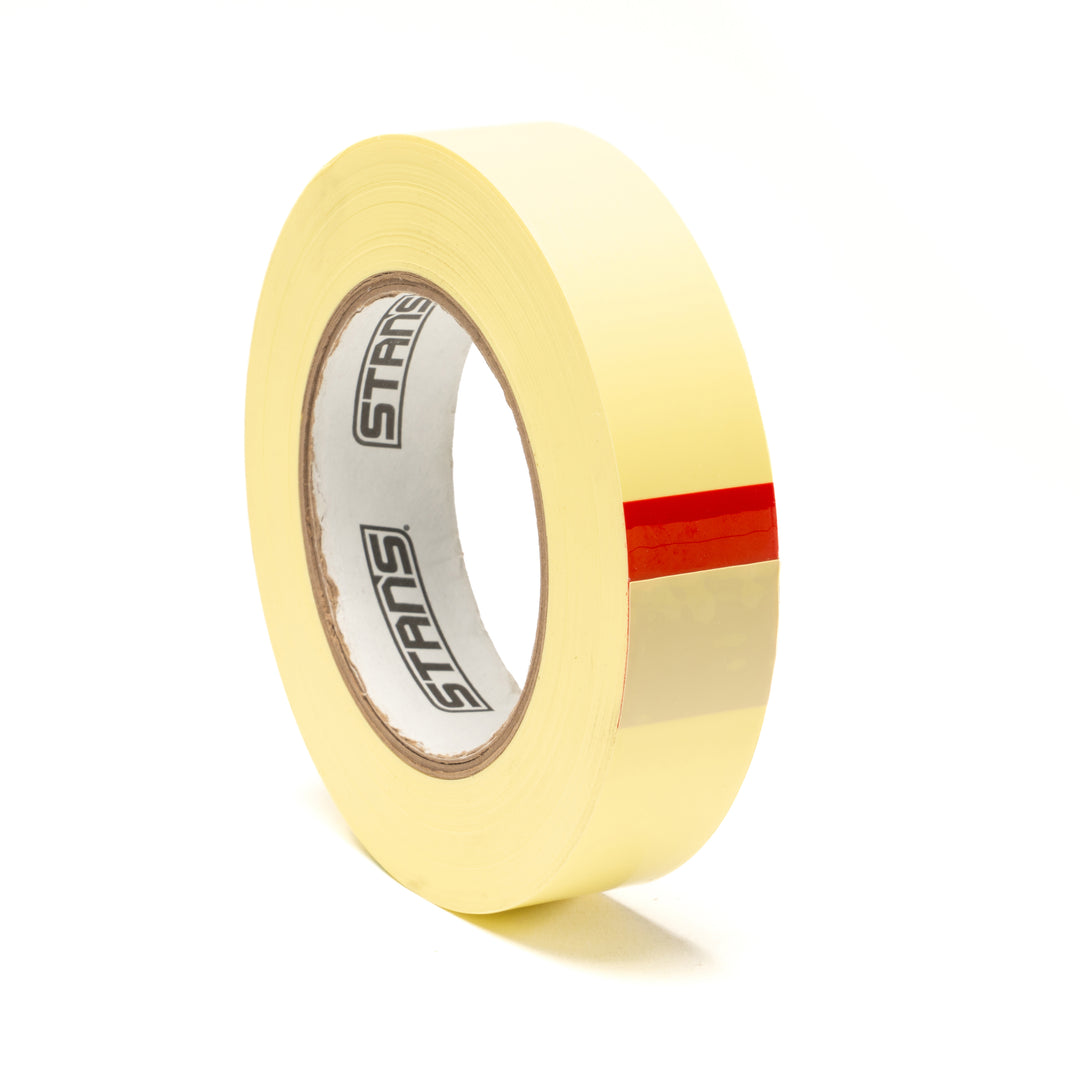
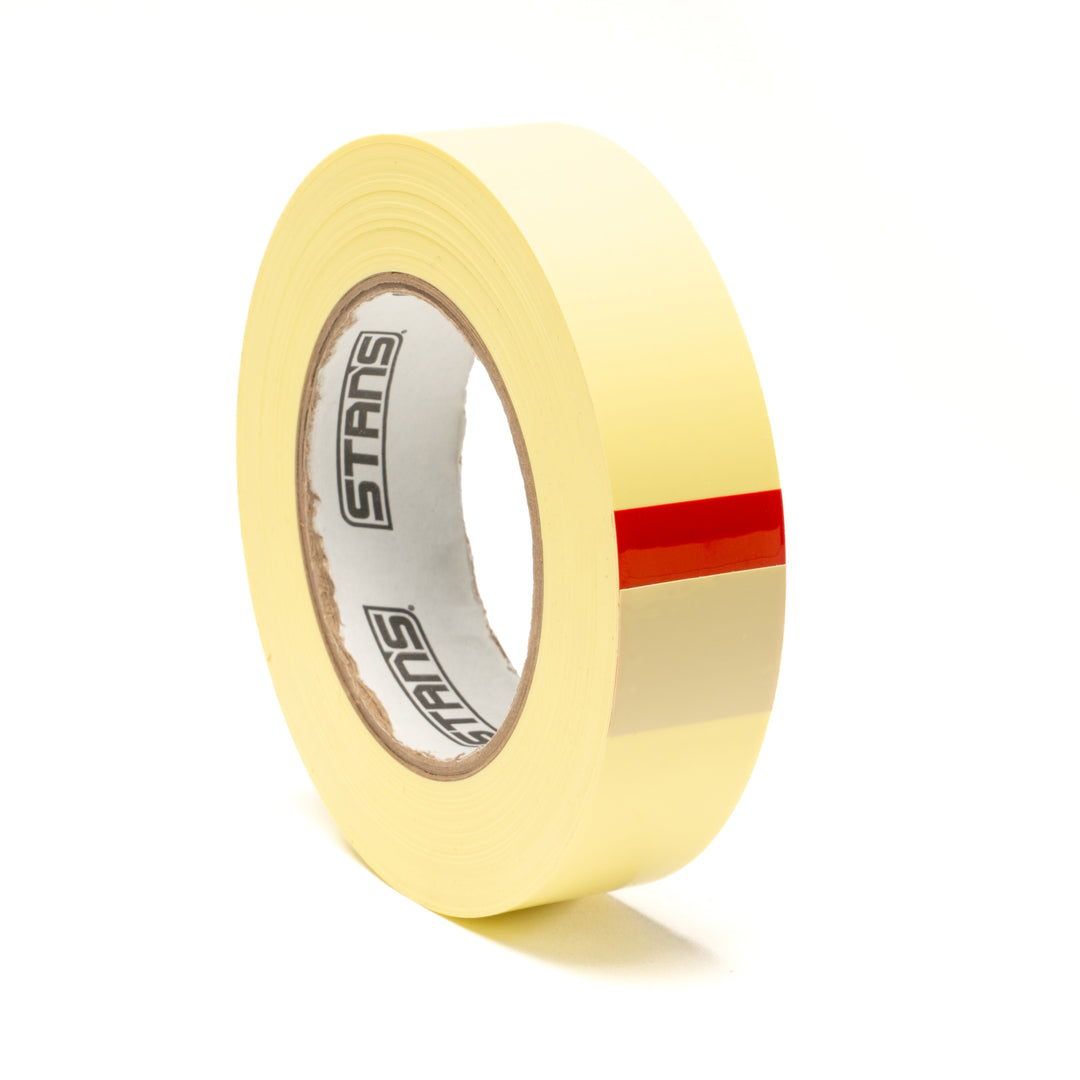
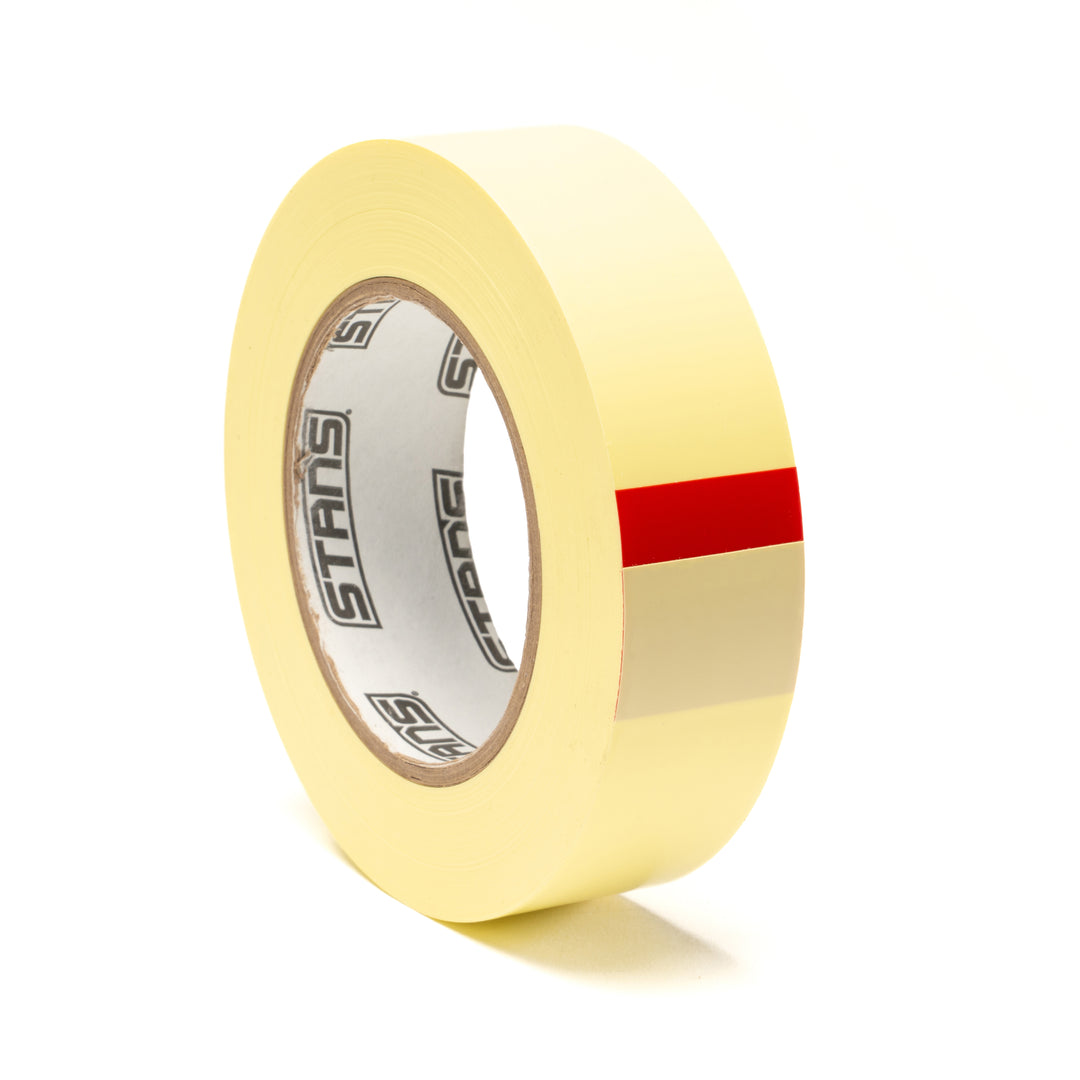
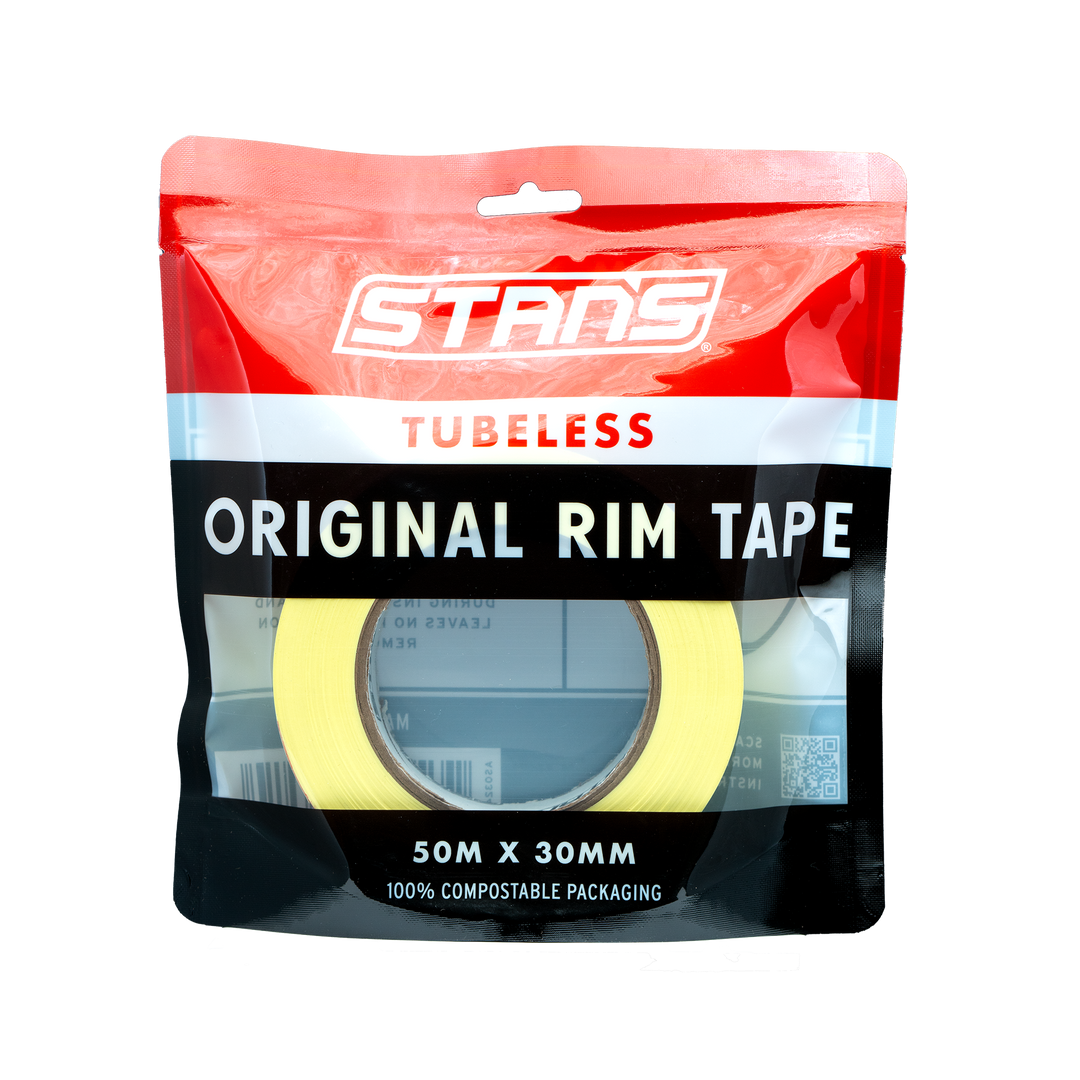
Stan’s Original Rim Tape creates a durable and airtight seal between tubeless rims and tubeless tires, creating an ideal environment for tubeless sealant to remain liquid for as long as possible. The non-porous material protects the interior of alloy and carbon rims, in addition to their spokes and nipples, and a synthetic adhesive leaves zero residue behind once removed.
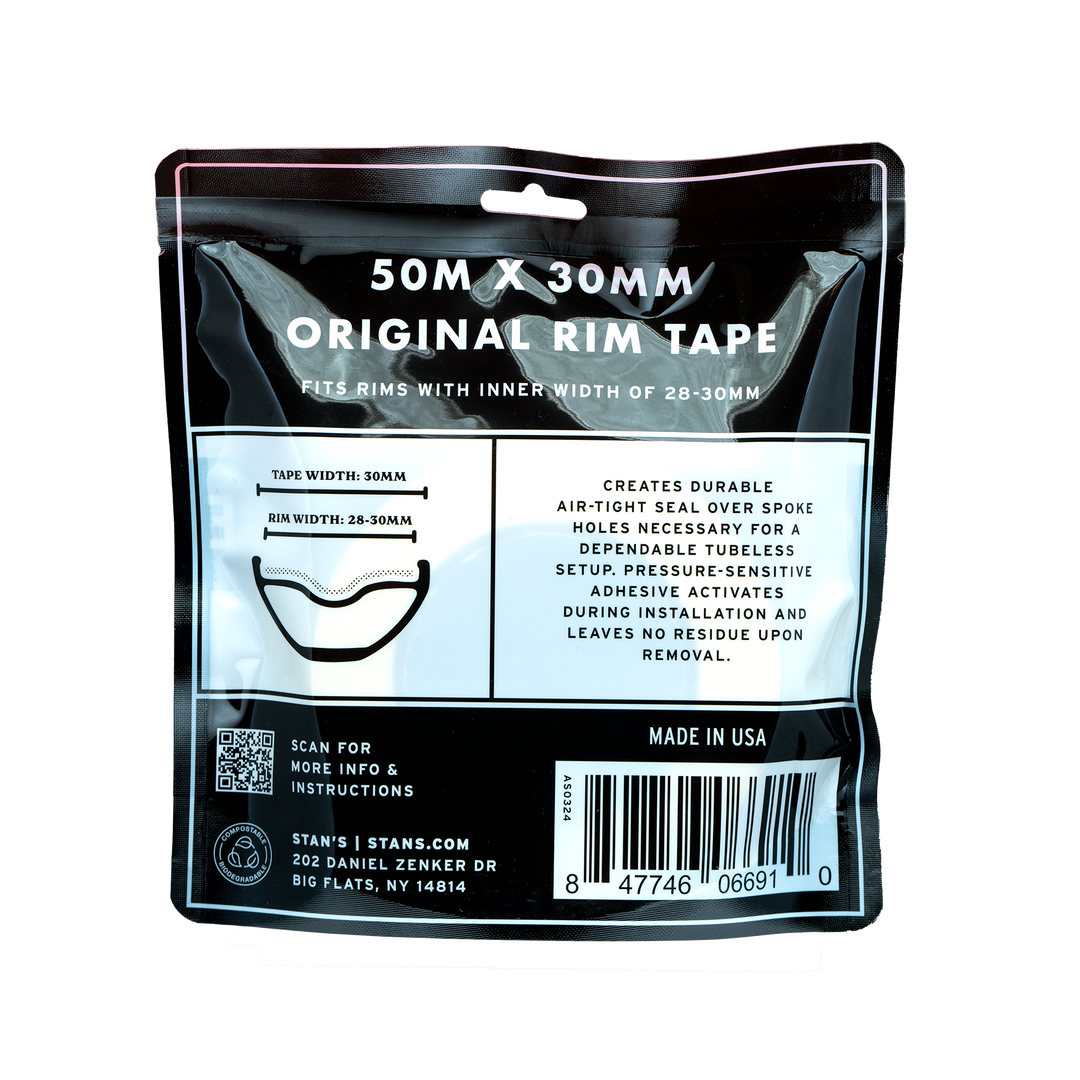
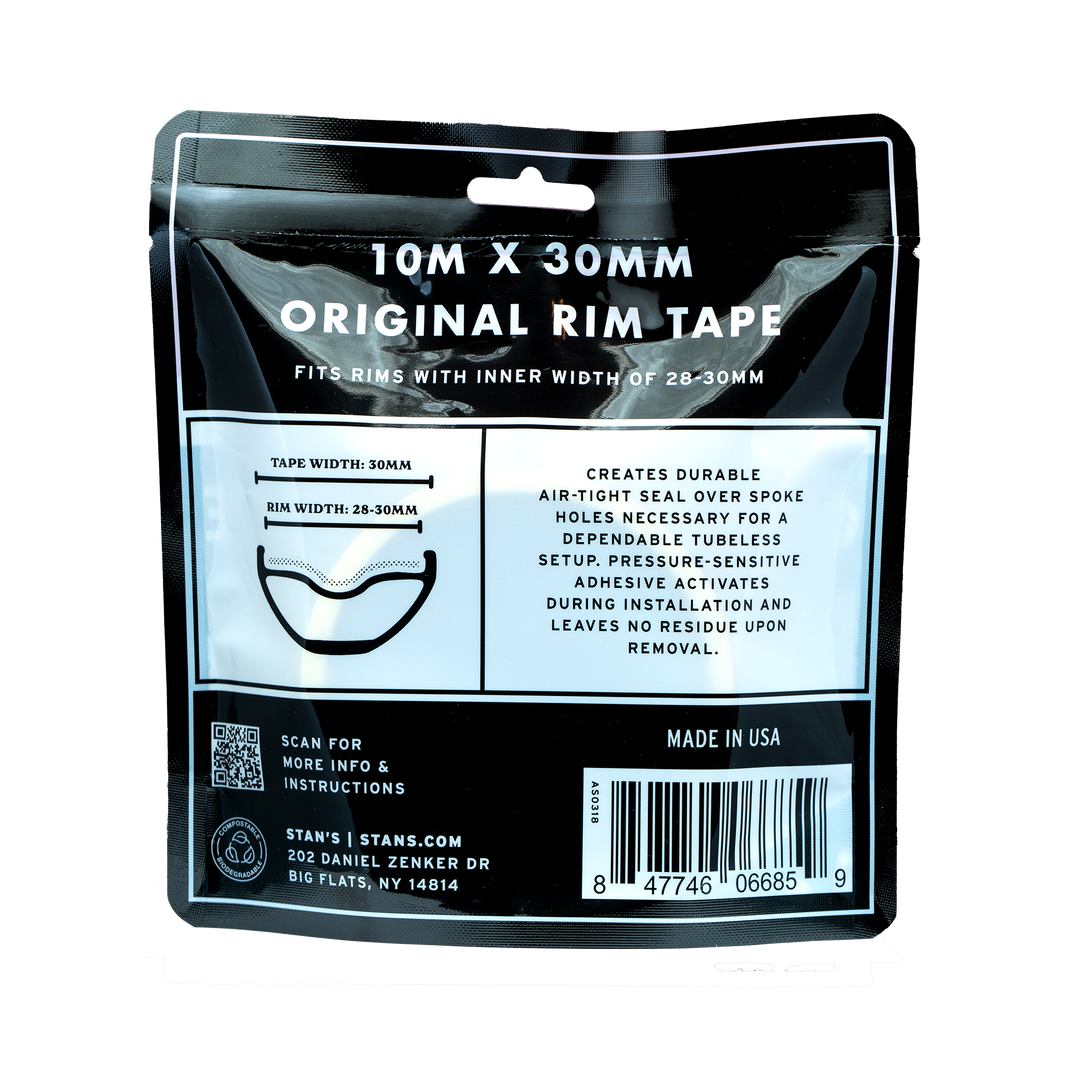
As a general rule of thumb, we recommend selecting a tape 1-2mm wider than the interior width of your rim.
-
One 10-meter roll will tape 4 x 29” rims or 5 x 27.5” rims
- One 50-meter roll will tape 20 x 29” rims or 25 x 27.5” rims
- Creates durable, airtight seal over spoke holes
- Completely non-porous vapor barrier seals rim interior from moisture
- Adhesive leaves no residue on rim, once removed
- Low friction surface helps tire beads slip into place
- For high pressure applications, 50 psi/3.5 bar and greater, we recommend 2 layers of the appropriate width rim tape be applied to handle the demands of higher air pressure.
- For low pressure applications, 50 psi/3.5 bar and lower, we recommend 1 layer of the appropriate width rim tape be applied for Tubeless Ready rims.
Stan’s Tubeless Rim Tape: Troubleshooting & Pro Installation Guide
Stan's Original Rim Tape is non-porous, non-stretch, and engineered specifically for high-pressure airtight performance. Unlike electrical tape or duct tape, Stan's tape does not stretch or balloon under pressure, preventing it from creeping over time.
Because it relies on surface tension, mechanical pull, and proper prep rather than sticky adhesives, following these key techniques ensures a 100% airtight seal every time.
Quick Sizing & Layering Rules
-
Selecting Tape Width: Choose a tape 1–2mm wider than the internal width of your rim bed (e.g., use 27mm tape for a 25mm inner rim width). This accounts for the curvature of the drop channel.
-
Low Pressure (Under 45 PSI / 3.1 Bar): Apply 1 layer of tape (Mountain / Gravel / Fat Bike).
-
High Pressure (45 PSI / 3.1 Bar and Above): Apply 2 layers of tape (Road / High-Pressure Gravel).
Common Issues & How to Fix Them
1. "The tape isn't sticky enough / won't stick to the rim"
-
The Cause: Residual grease, factory oils, or old tire sealant left in the rim bed prevents the adhesive from bonding.
-
The Fix: Thoroughly strip the rim bed using 90%+ Isopropyl Alcohol and a clean rag. Allow it to air dry completely. Never use WD-40, chain degreasers, or mineral spirits, as they leave a thin oily film behind.
2. "The tape keeps tearing or ripping while pulling"
-
The Cause: Pulling off-angle or catching the tape edge against sharp rim walls.
-
The Fix: Stan's tape is non-elastic for strength. Pull with firm, steady tension straight down the centerline of the rim. Do not twist or pull at an angle. Maintain continuous tension as you unroll onto the rim.
3. "Air is leaking somewhere"
-
The Cause: Using only one layer of tape for high-pressure applications, or air escaping around the valve hole or spoke holes.
-
The Fix:
-
Add a second layer: For pressures over 45 PSI, wrap the wheel with two full passes of tape.
-
Valve Hole Taping Technique: Start your tape 2 or 3 spoke holes away from the valve hole, wrap around the rim, and overlap the tape end by 3 or 4 spoke holes past the valve hole after completing the full revolution. When inserting your valve, do NOT cut a slit or 'X' with a razor (which tears under pressure). Instead, heat a small round tool or push a sharp pick directly through the tape to melt/pierce a clean, round hole. A round file can be used to remove any tape flaps left behind.
4. "Tape won't adhere properly on Asymmetrical / Offset Rims"
-
The Cause: Asymmetric rims have an off-center deep drop channel, causing standard tape to bridge or gap along the offset edge.
-
The Fix: Ensure your tape is 1–2mm wider than the internal rim measurement. Start the tape along the deeper side of the drop channel first, using a clean thumb or soft cloth to firmly press the tape directly into the offset contour before moving to the outer shoulder.
5. "Why not just use Duct Tape or Gorilla Tape?"
-
The Reality: While duct/cloth tape feels sticky initially, its porous cloth backing rapidly absorbs liquid sealant, breaks down, and leaves a sticky glue residue inside the rim bed. Stan’s tape uses a non-porous vapor barrier with a clean adhesive that removes cleanly without leaving a mess behind.
Step-by-Step Installation Video Guide
Watch our step-by-step video below to see how to prep, pull, and install your tape for a leak-free setup:
-
Step 1: Clean the rim thoroughly with Isopropyl alcohol.
-
Step 2: Start taping 2–3 spoke holes before the valve hole.
-
Step 3: Maintain heavy tension with one hand while using your opposite thumb to press the tape firmly into the rim channel.
-
Step 4: Finish by overlapping 3–4 spoke holes past the valve hole, cut clean, and press all edges firmly.
There's no elsticicity at all and if you pull too hard it rips. On top of that it can't handle 50 psi overnight. How can I trust it on a ride.
Hey there, thanks for sharing your feedback. Stan’s Rim Tape is non-porous and non-stretch by design—stretchy tapes tend to lift and creep over spoke holes under pressure, whereas our tape creates an airtight seal that holds high pressures without ballooning.
Because it isn't elastic, pulling straight with firm, even tension down into the rim channel is key. When installed correctly with a double wrap for higher pressures (over 45 PSI), it should easily hold 50+ PSI for years on the trail.
We’d love the chance to make this right and get your setup holding air. Please reach out to us at hello@stans.com so we can send a fresh roll and help you get sorted!
This is the worst product I have ever purchased. Does not work at all. Save yourself the trouble and get some Gorilla tape for 1/3 the cost

Genuinely the worst biking product i have come across, unbelievably difficult to install and too time consuming and finicky to have any practical use, not to mention for the price point, working minimum wage that was not worth two hours of my life, I’d Like my money back, after numerous failed attempts at taping a brand new rim, trusty duct tape sealed first try,
Hey Eric, thanks for sharing your feedback! While duct tape might seem sticky, its porous fabric backing will absorb sealant, break down quickly, and leave a nightmare adhesive residue behind on your rim.
Asymmetrical rims can definitely be tricky because the deep rim drop center is off-center. The key is sizing the tape to cover the entire rim bed (usually 1–2mm wider than the internal rim width) and pulling firm, steady tension while pushing the tape down directly into the asymmetric channel with a clean thumb so air bubbles don't form along the offset edge.
We want your setup working flawlessly! Please drop us a line at hello@stans.com so we can send out a fresh roll and help guide you through getting a perfect seal on your rims.
This stuff was so bad I might stop buying Stan’s products all together. I followed the exact method in the video and it didn’t even think about sticking to my wheel at all. I would rather use scotch tape if I’m being completely honest. Packaging tape would legitimately be superior to this in every way. The fact that I just spent 20$ on a roll of non adhesive plastic is stupid.
I just paid 20$ for a roll of plastic with barely any adhesive. Doesn’t stick to the rim at all. I’m convinced any 5 star reviews left on this product are fake.